Skip to main content
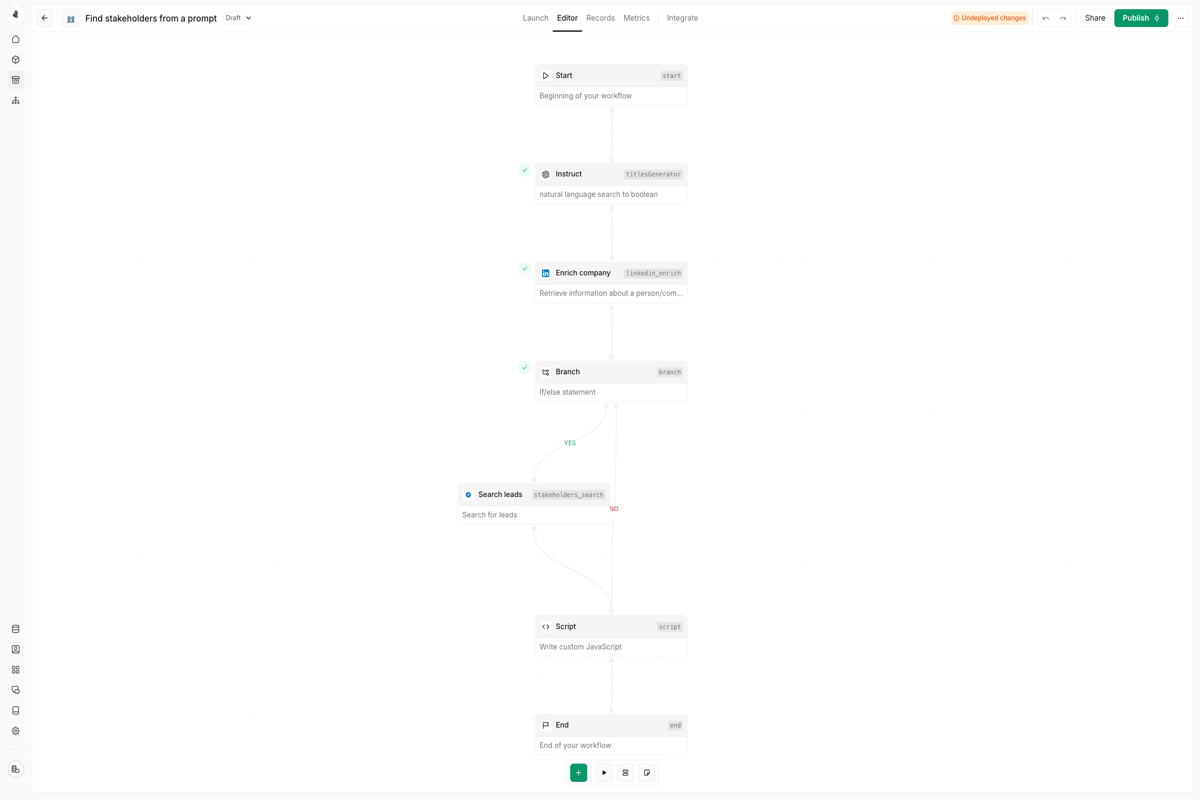
The building blocks of tools are called nodes. Each node is a different step of a tool, each representing a different task that can be automated in Cargo.
Every tool starts with some input data as its starting point of your tool which defines the data schema for the subsequent action to pull data from.
 Tools work by connecting each node’s output to a matching input on another node. This is how data flows through the tool and how each node knows what to do.
Once an input is provided, you can add nodes inside the tool’s execution logic to enable it to perform its function. Each node performs a different task. Nodes can be chained together or perform branching logic based on the outputs of the previous node.
Tools work by connecting each node’s output to a matching input on another node. This is how data flows through the tool and how each node knows what to do.
Once an input is provided, you can add nodes inside the tool’s execution logic to enable it to perform its function. Each node performs a different task. Nodes can be chained together or perform branching logic based on the outputs of the previous node.
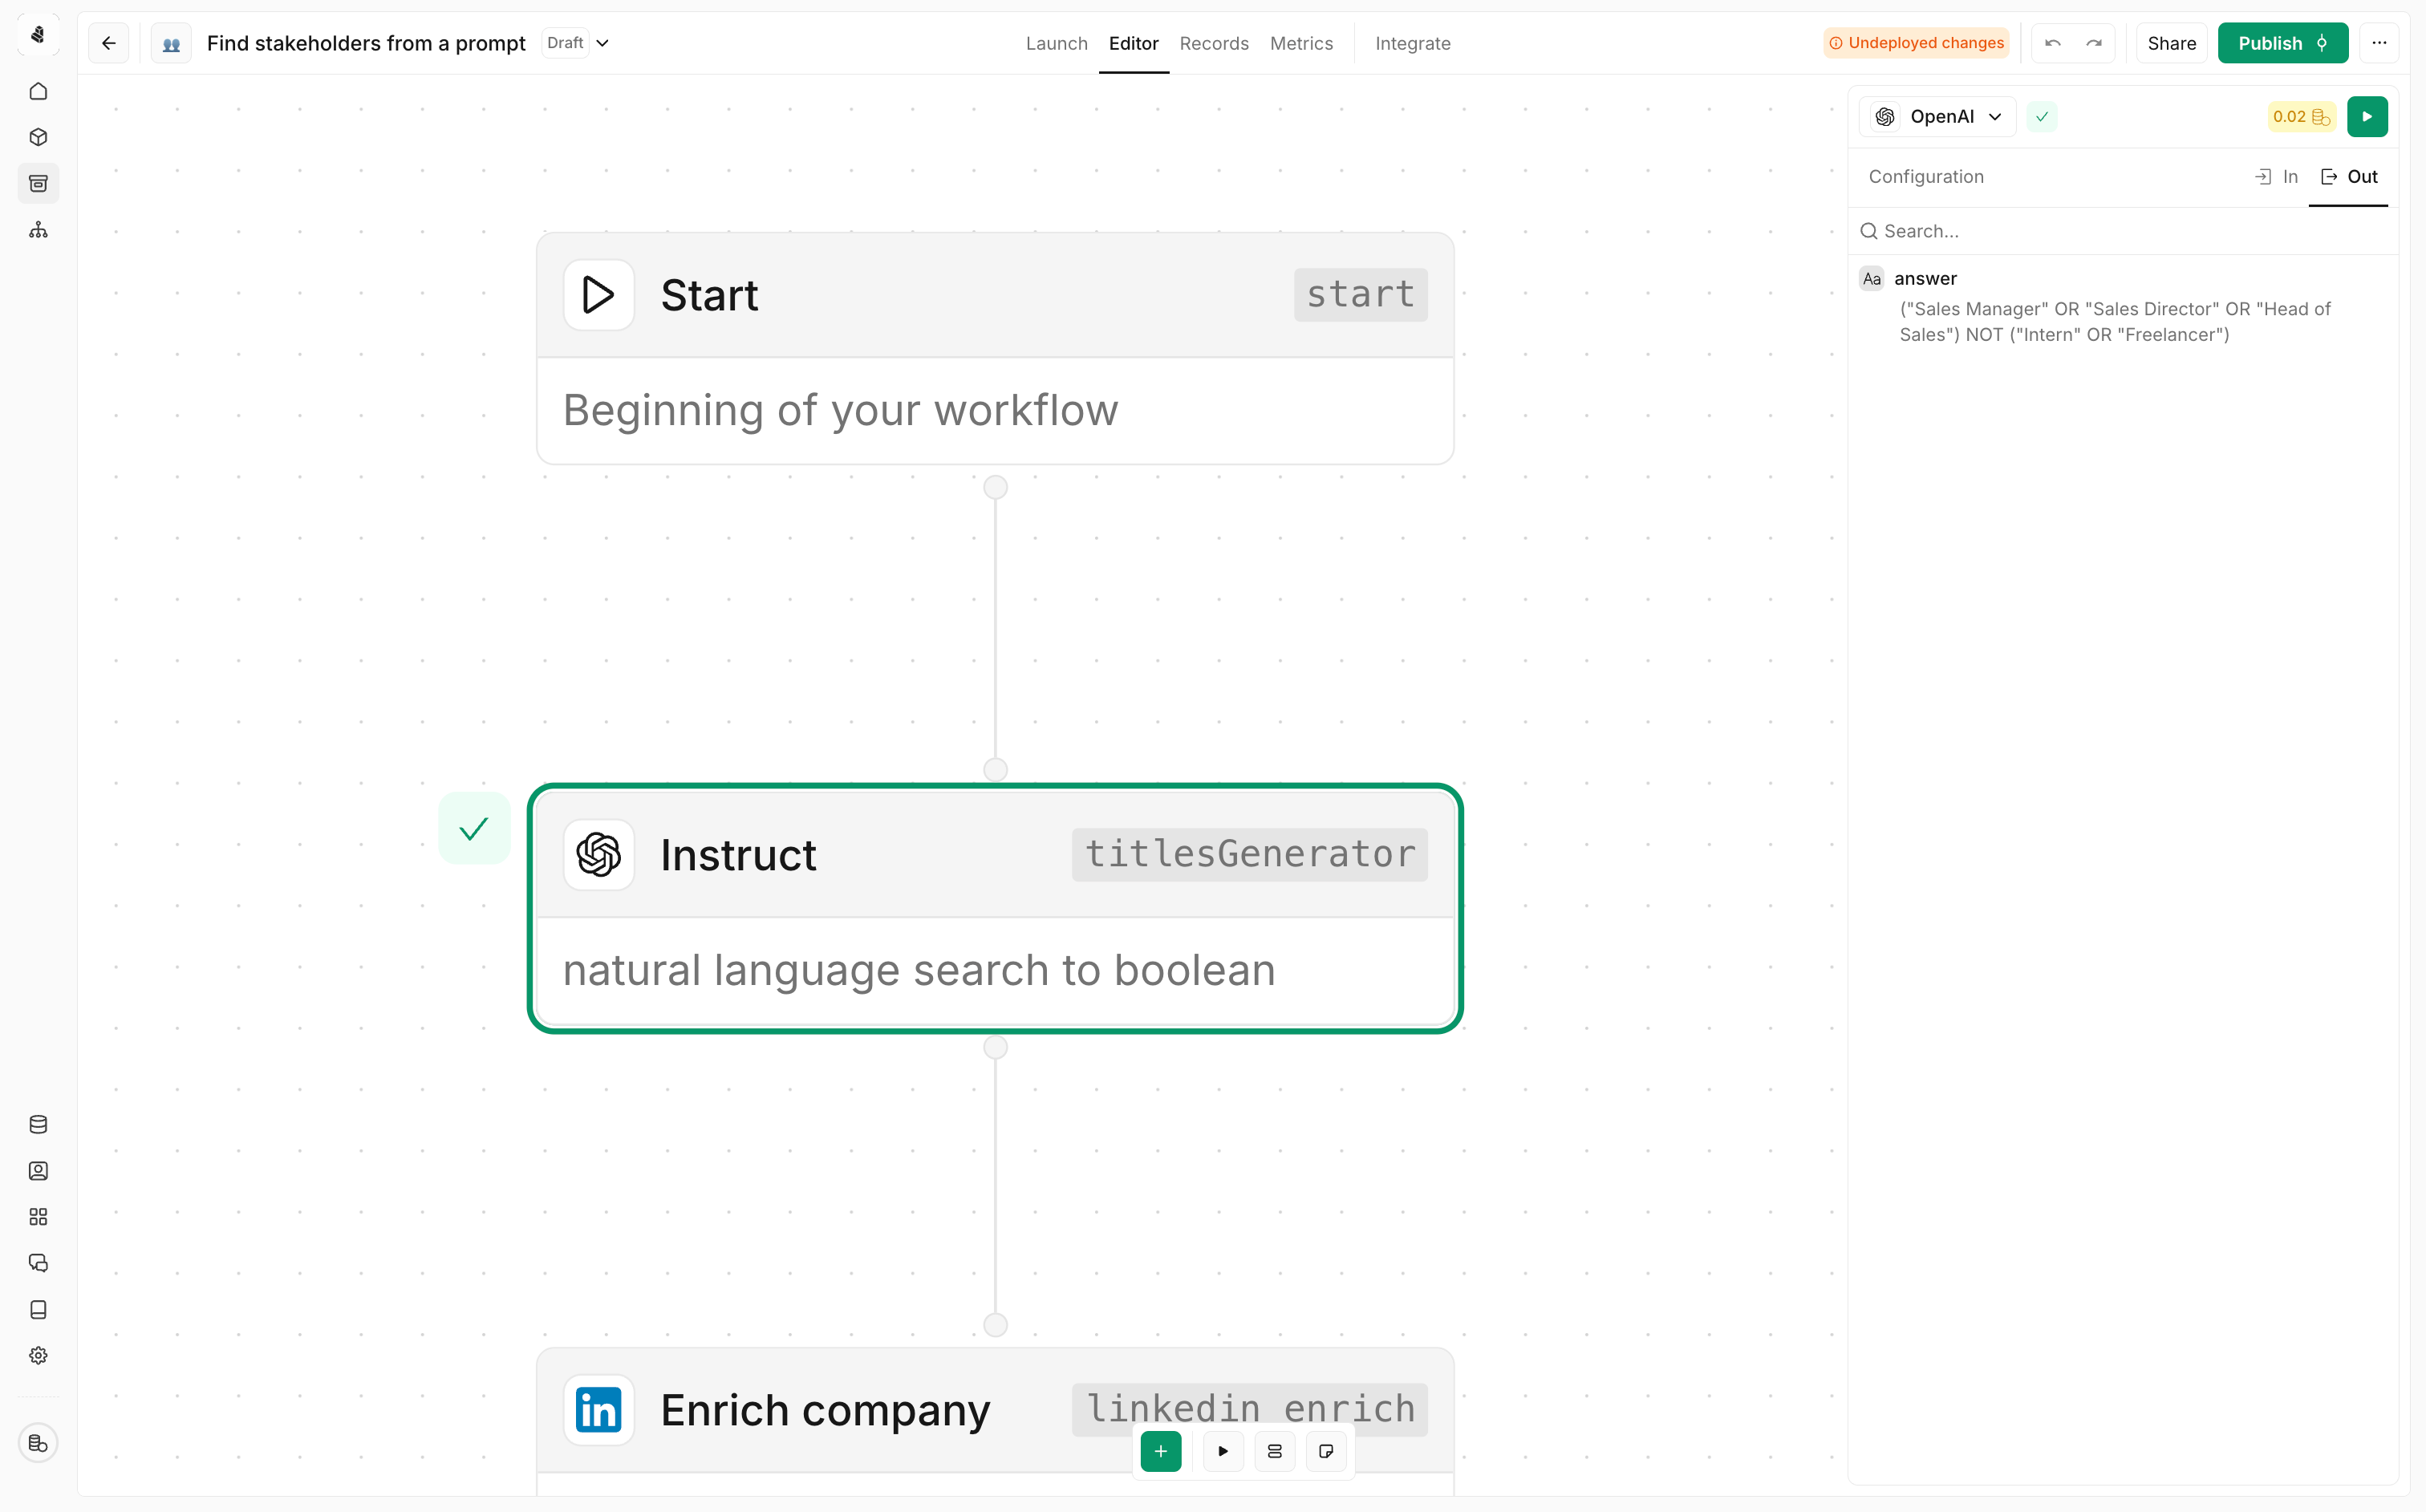 Whenever a node executes, it will create an output. If this was a successful execution, there will either be data present in the output or an empty output object. Should an execution fail, an error message will explain what caused the failure.
Connecting nodes
To connect two nodes, click on the output symbol of the first node and drag the connection to the input symbol of a subsequent node.
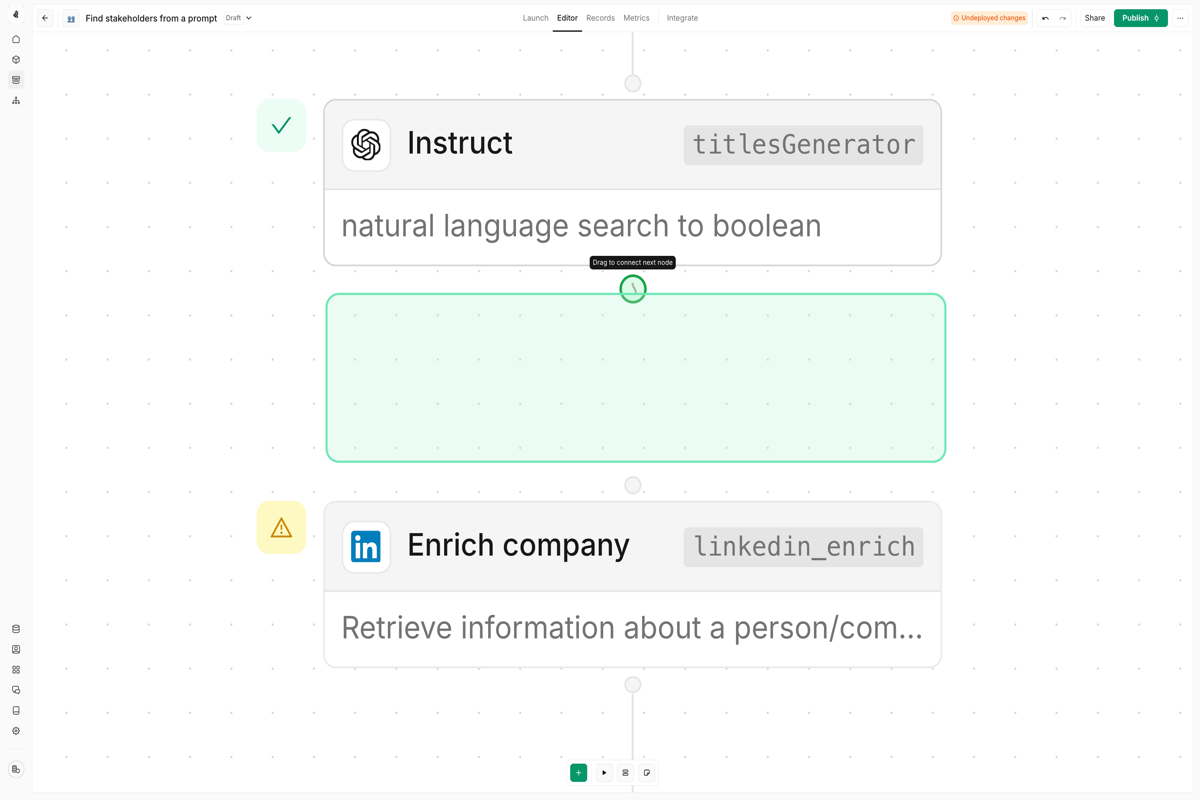 To delete a connection, hover over the middle of the connecting line between two nodes and press the delete key.
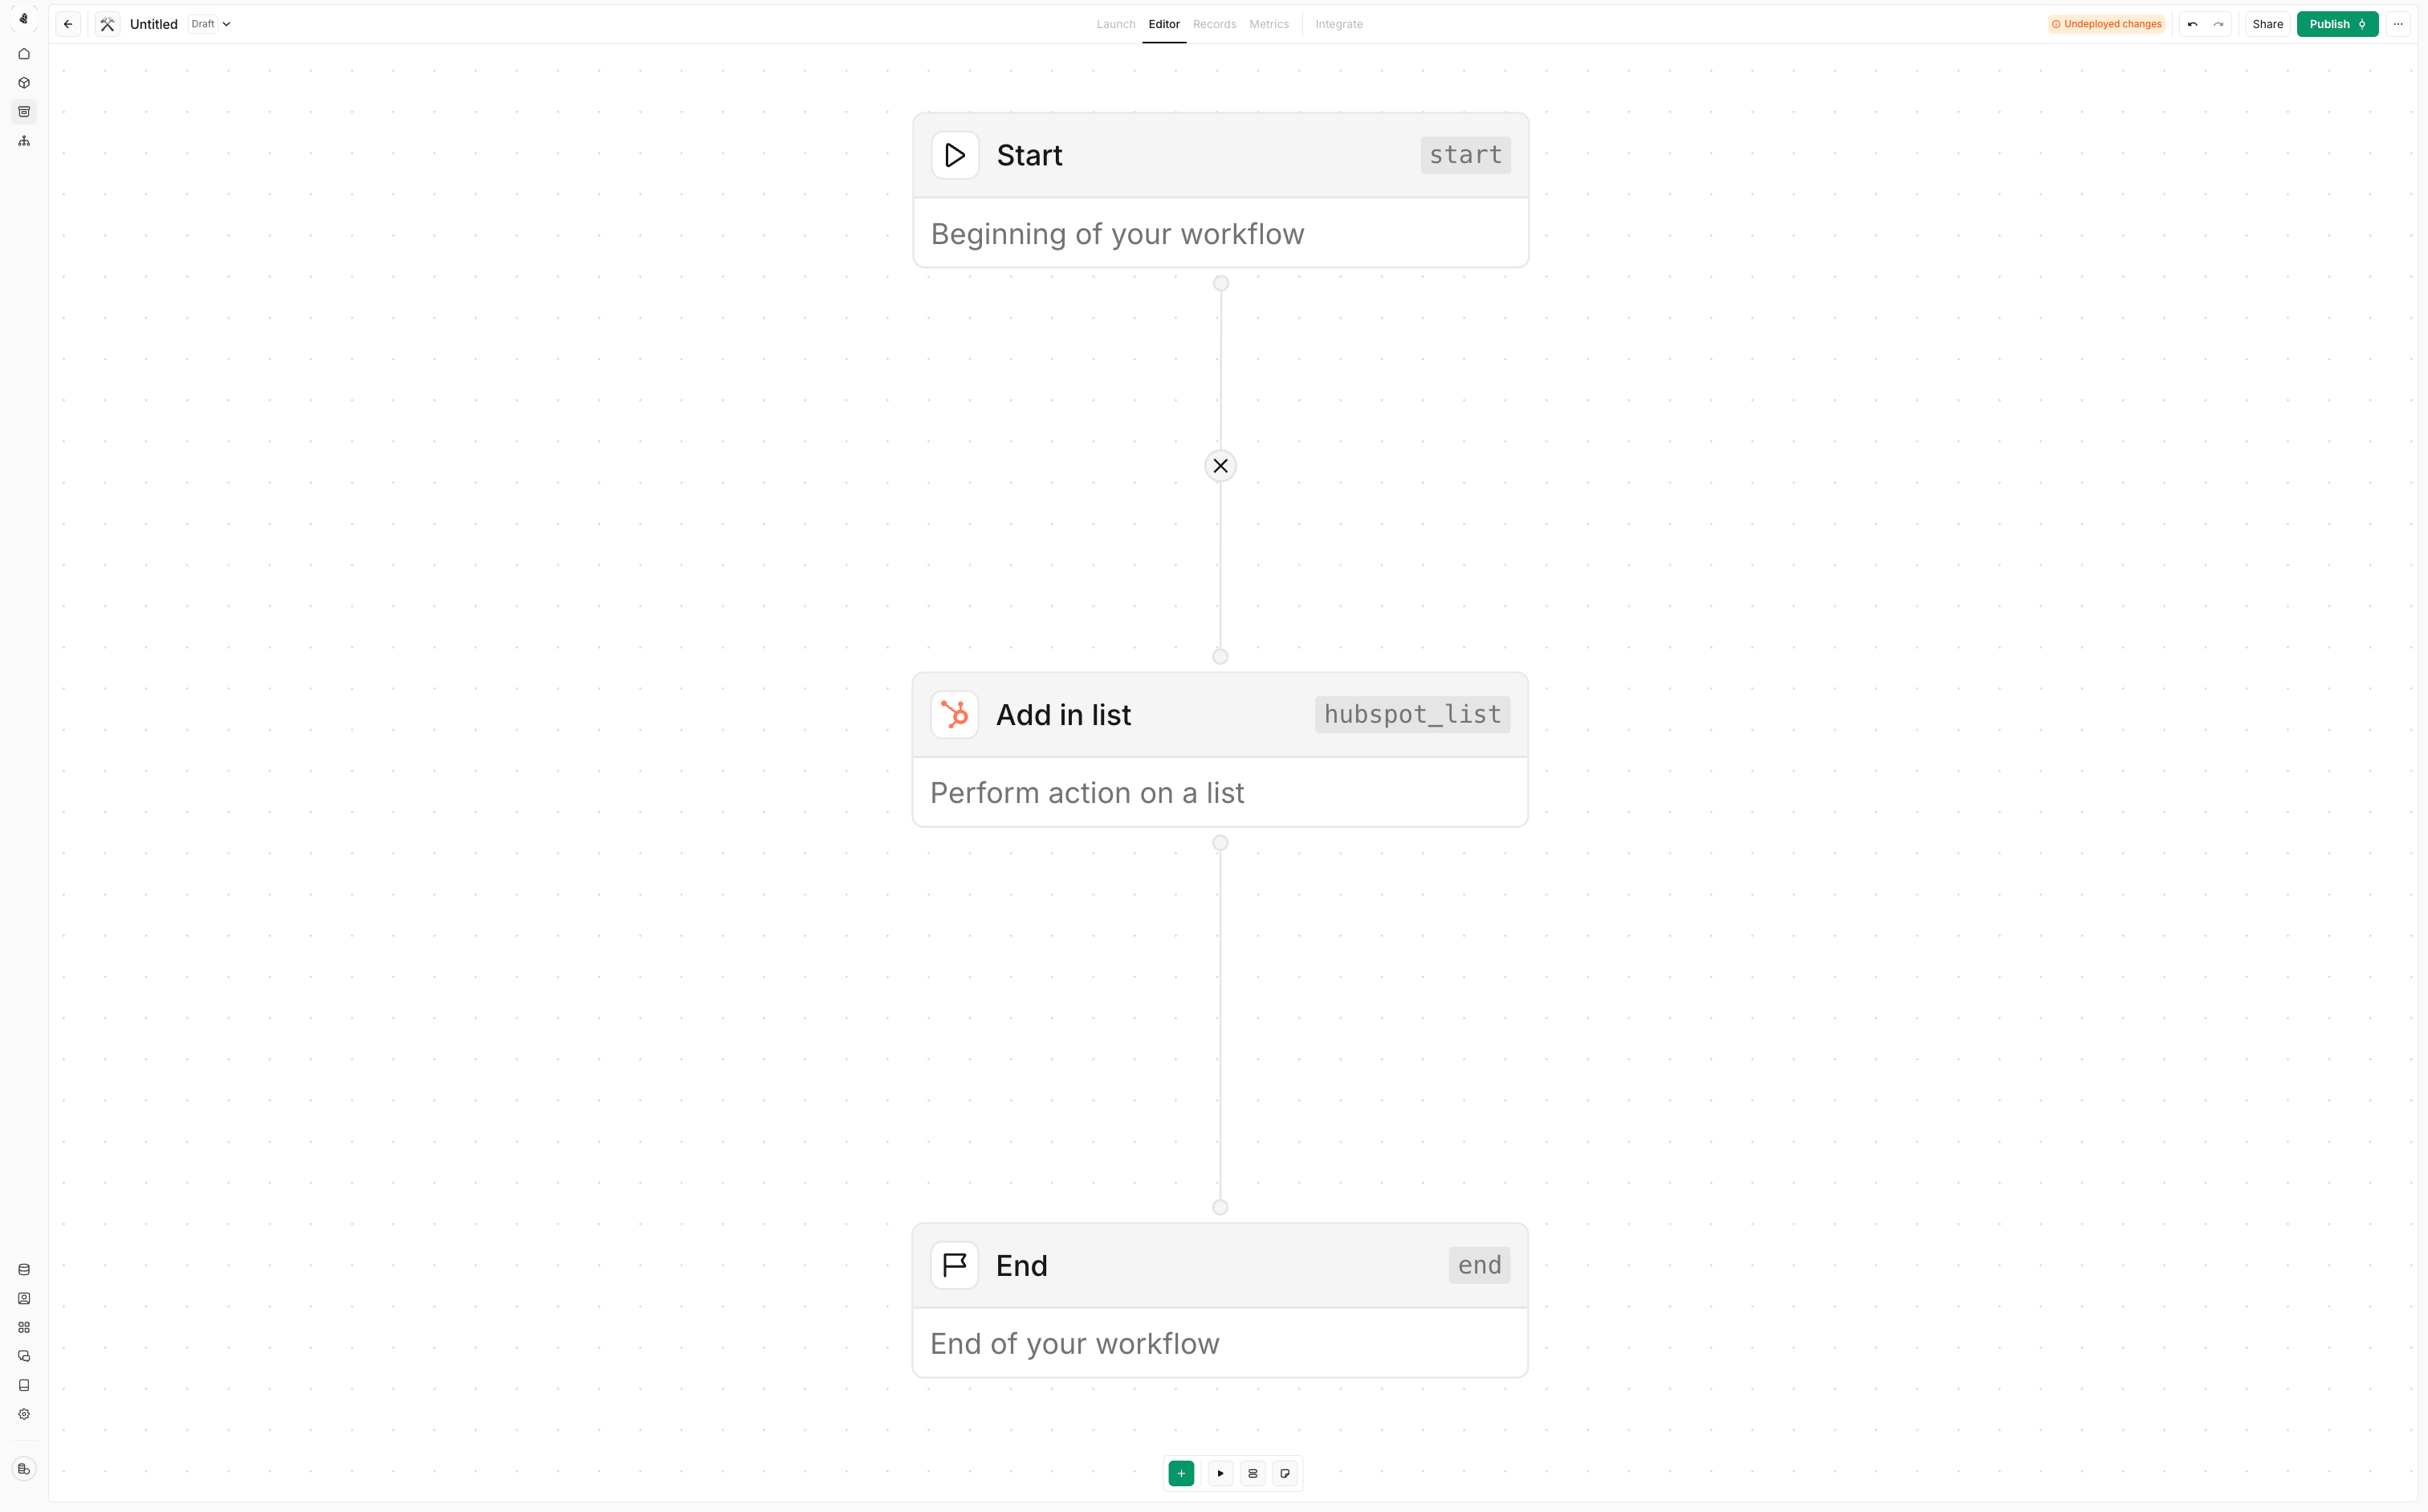
Save and publish
When you first create a tool, it is automatically saved as a draft. You can leave and return later to finish building the tool without losing your progress.
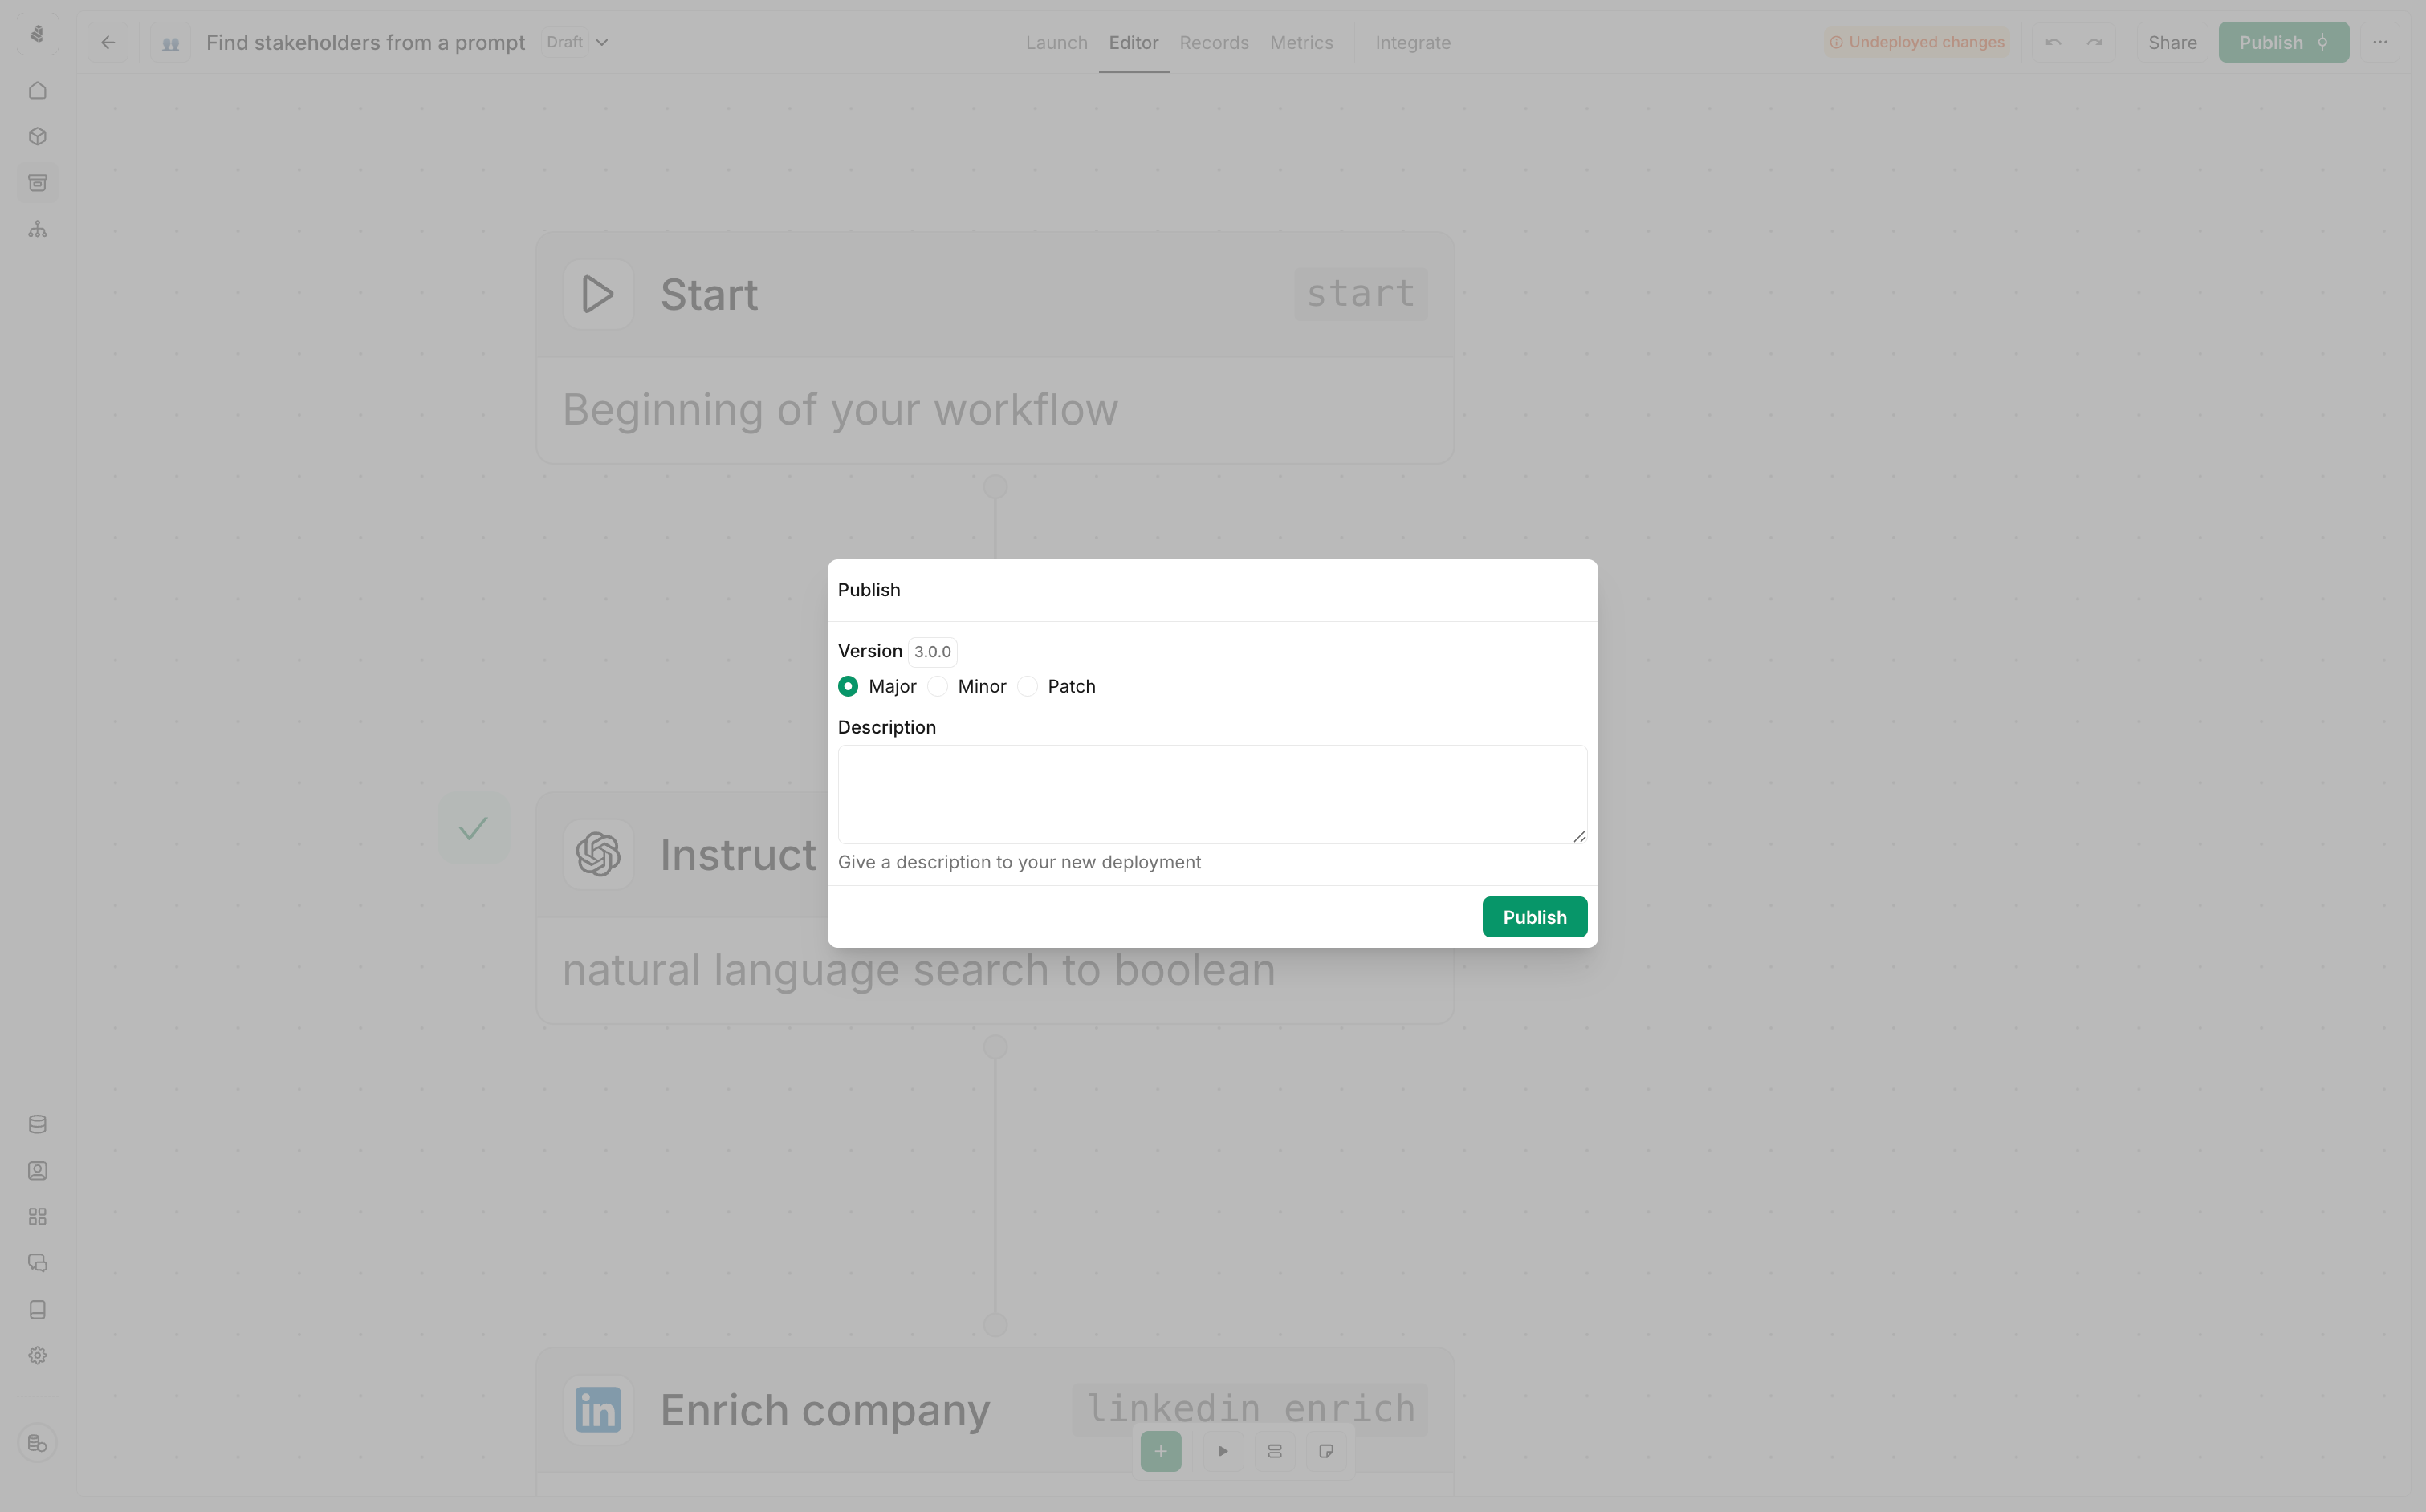 Once you’re ready to start using the tool outside the editor, you can publish it. Published tools will be available for use in plays, agents and MCP servers. To publish a tool, click the publish button in the top right corner of the tool editor.
After publishing a tool, you can still make changes to it. Any changes you make will be saved as a new draft. You can publish the new draft at any time by clicking the publish button again.
Once you’re ready to start using the tool outside the editor, you can publish it. Published tools will be available for use in plays, agents and MCP servers. To publish a tool, click the publish button in the top right corner of the tool editor.
After publishing a tool, you can still make changes to it. Any changes you make will be saved as a new draft. You can publish the new draft at any time by clicking the publish button again.