The tool editor
The tool editor provides a visual canvas where you build automation workflows by connecting nodes together. Think of it as a flowchart where each box (node) performs a specific action, and arrows define how data moves between them. Key concepts:- Nodes are the individual steps in your tool (enrich data, write to CRM, branch logic, etc.)
- Actions are the operations each node performs—Cargo offers 120+ actions across logic, AI, integrations, and more
- Connections define how data flows from one node to the next
- Inputs are the data your tool receives when triggered
- Outputs are the data your tool returns when finished
Inputs and outputs
Defining inputs
Every tool starts with an Input node that defines the data schema for your tool. This is the contract between your tool and whatever triggers it.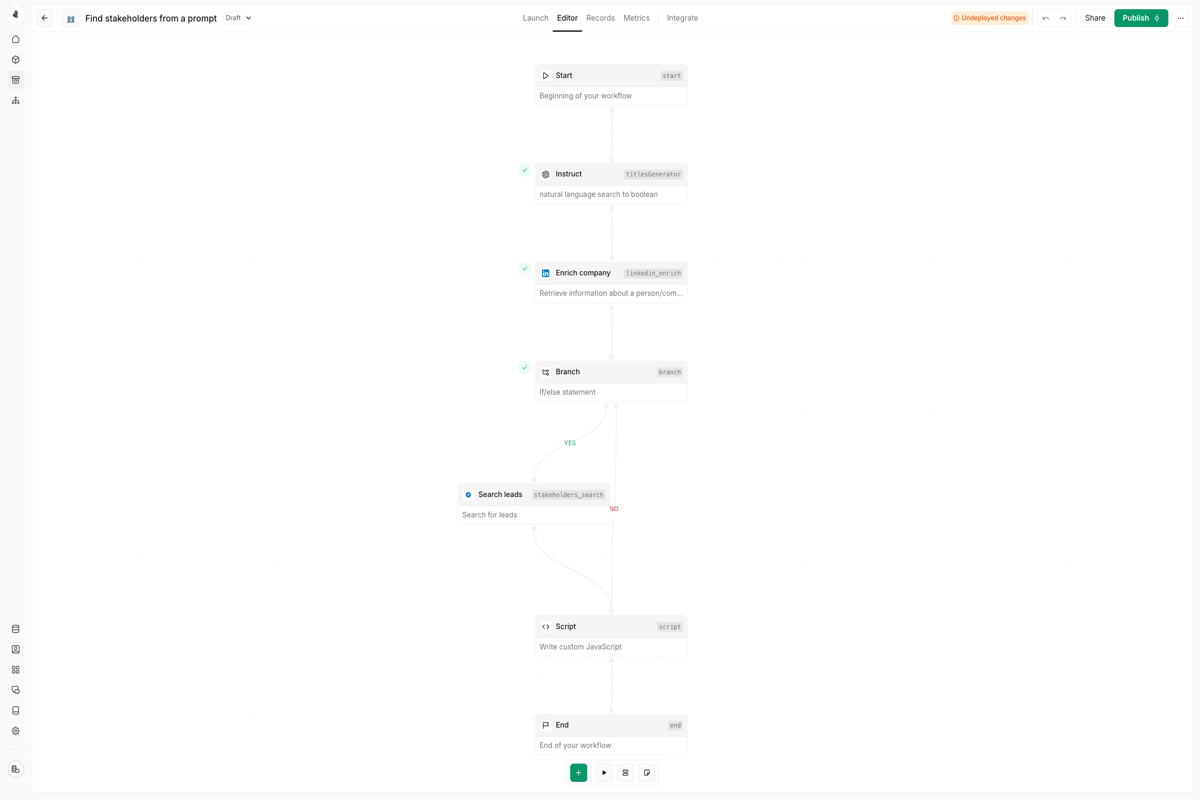
| Property | Description |
|---|---|
| Field name | The identifier for this input (e.g., company_domain, contact_email) |
| Type | Data type: string, number, boolean, array, or object |
| Required | Whether this field must be provided for the tool to execute |
| Description | Help text explaining what this field is for |
| Default value | Fallback value if none is provided (optional) |
Understanding outputs
Every node produces an output when it executes. Outputs contain the result of the node’s operation and can be referenced by downstream nodes.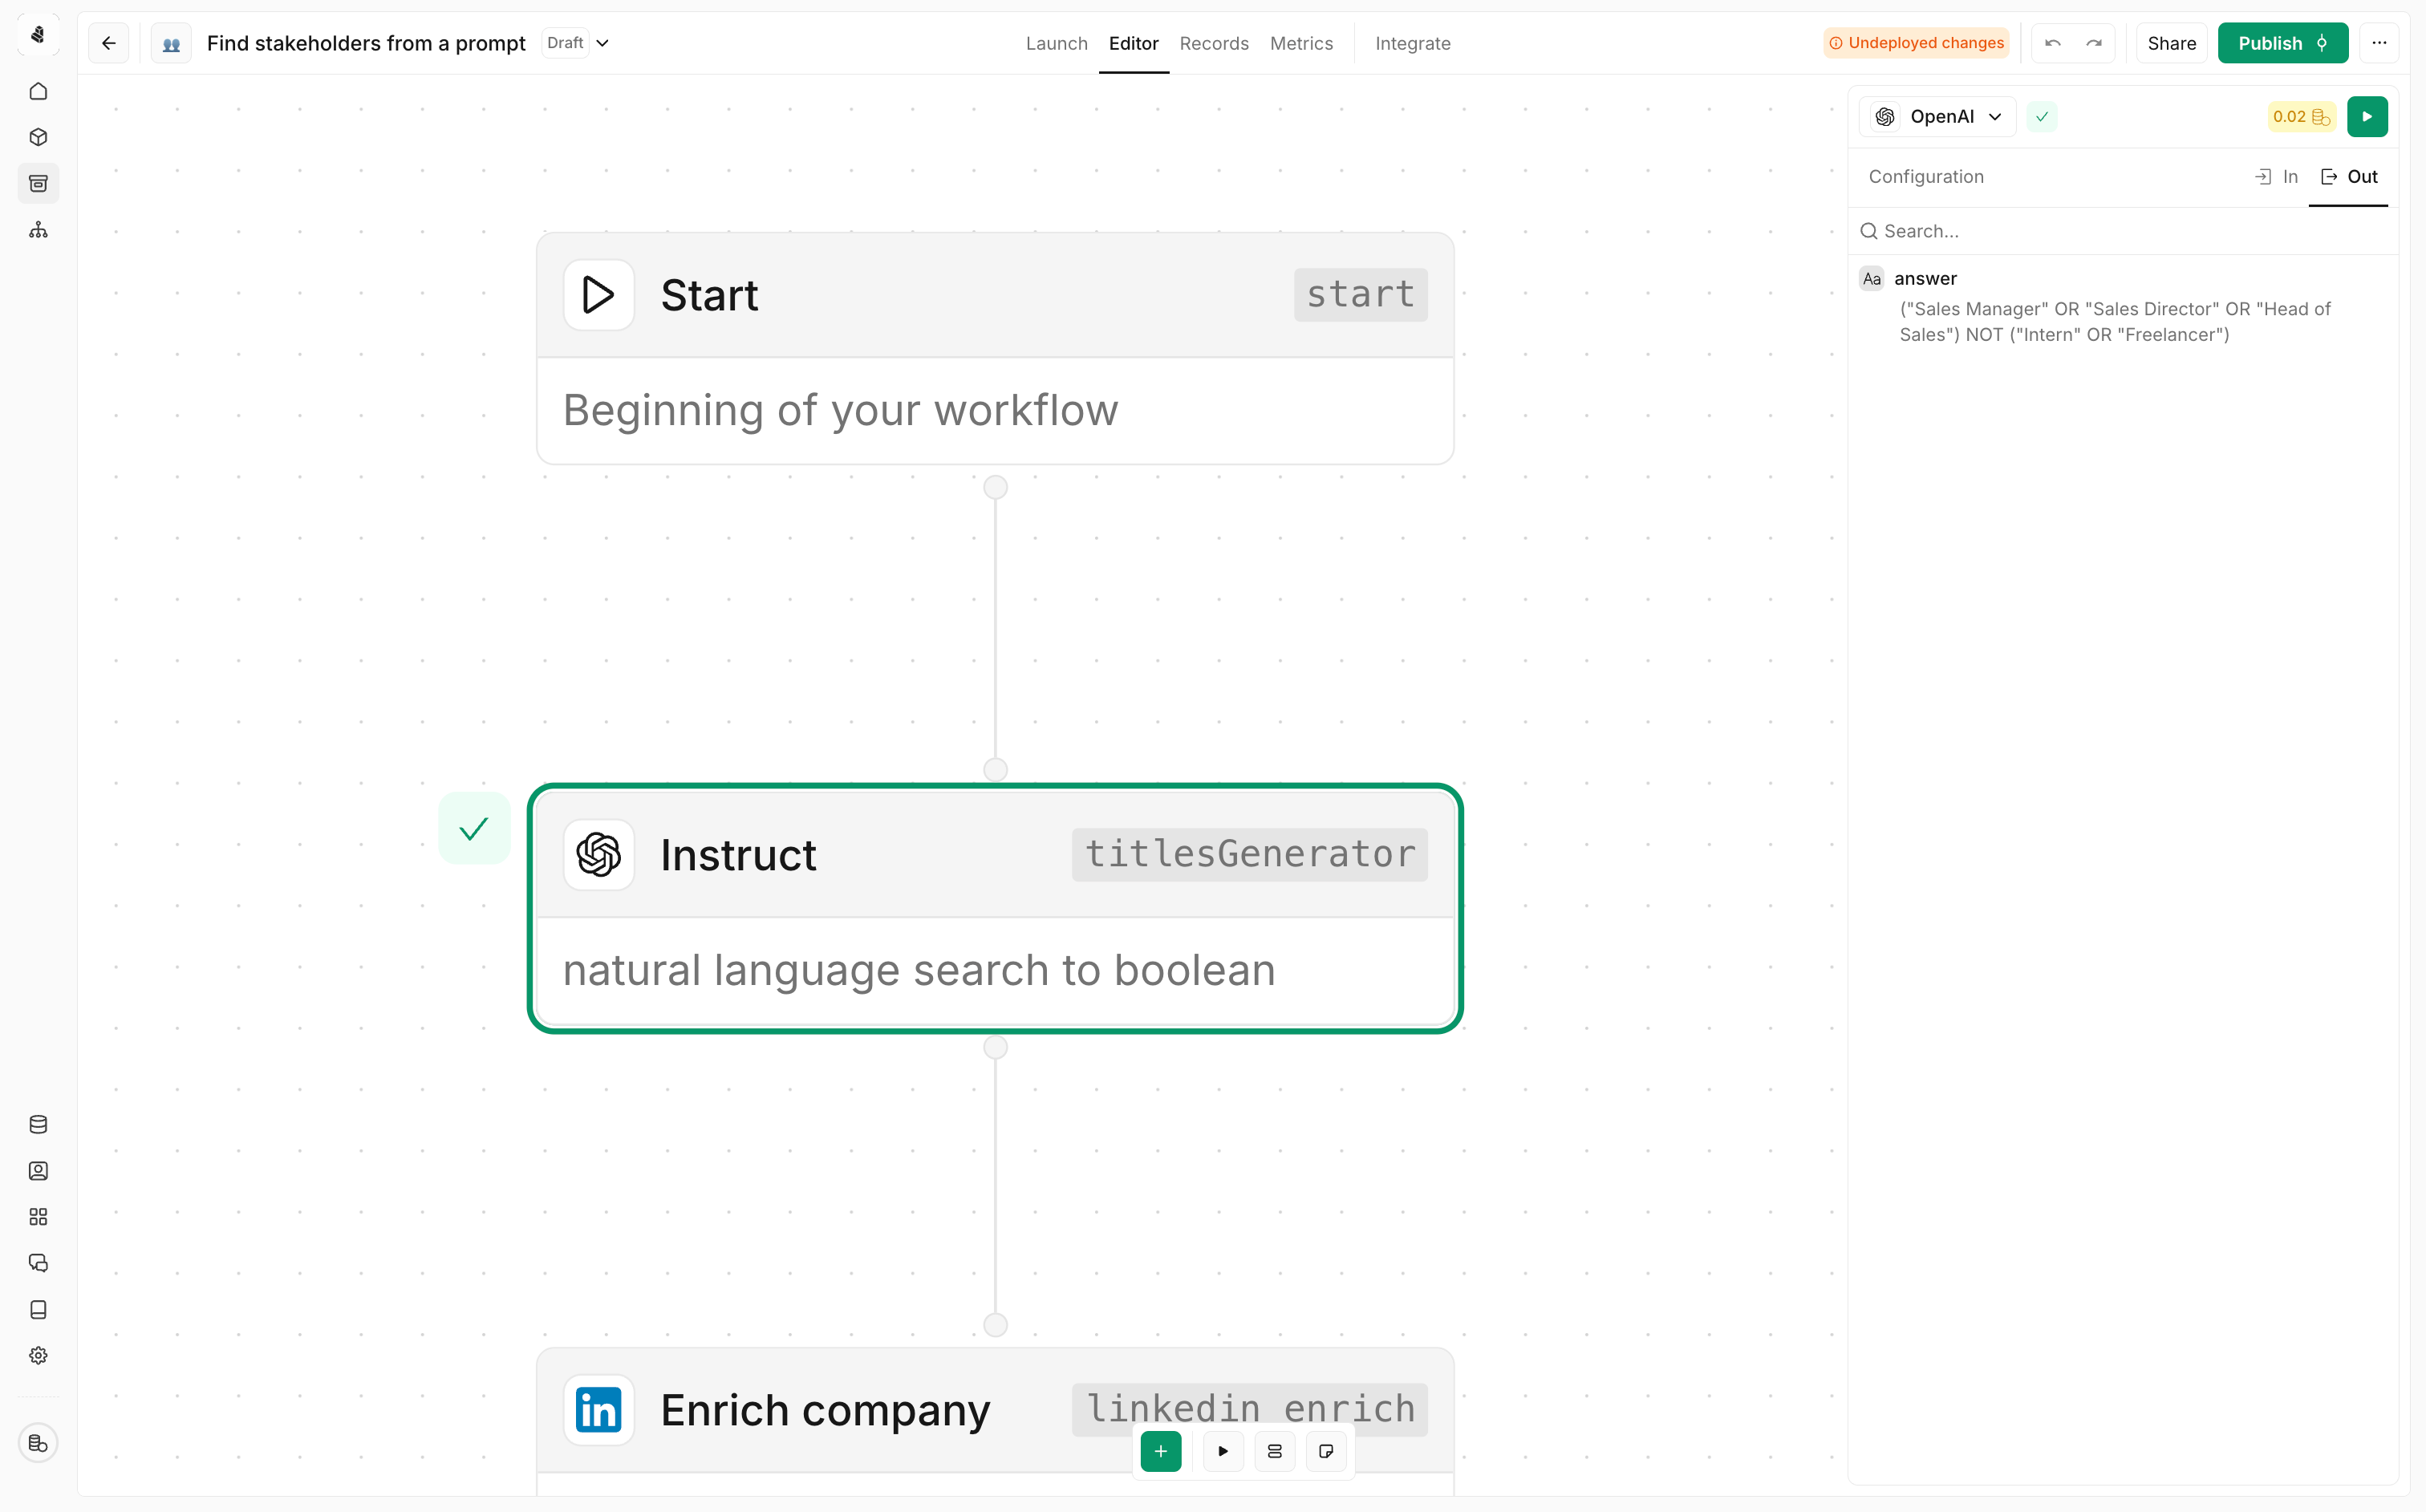
- Success with data: The node completed and returned data
- Success empty: The node completed but found no data (e.g., a search with no results)
- Error: The node failed—an error message explains what went wrong
Mapping data between nodes
To use data from one node in another, you’ll use expressions. In any input field, you can reference outputs from previous nodes:Connecting nodes
Creating connections
To connect two nodes, click on the output symbol of the first node and drag the connection to the input symbol of a subsequent node.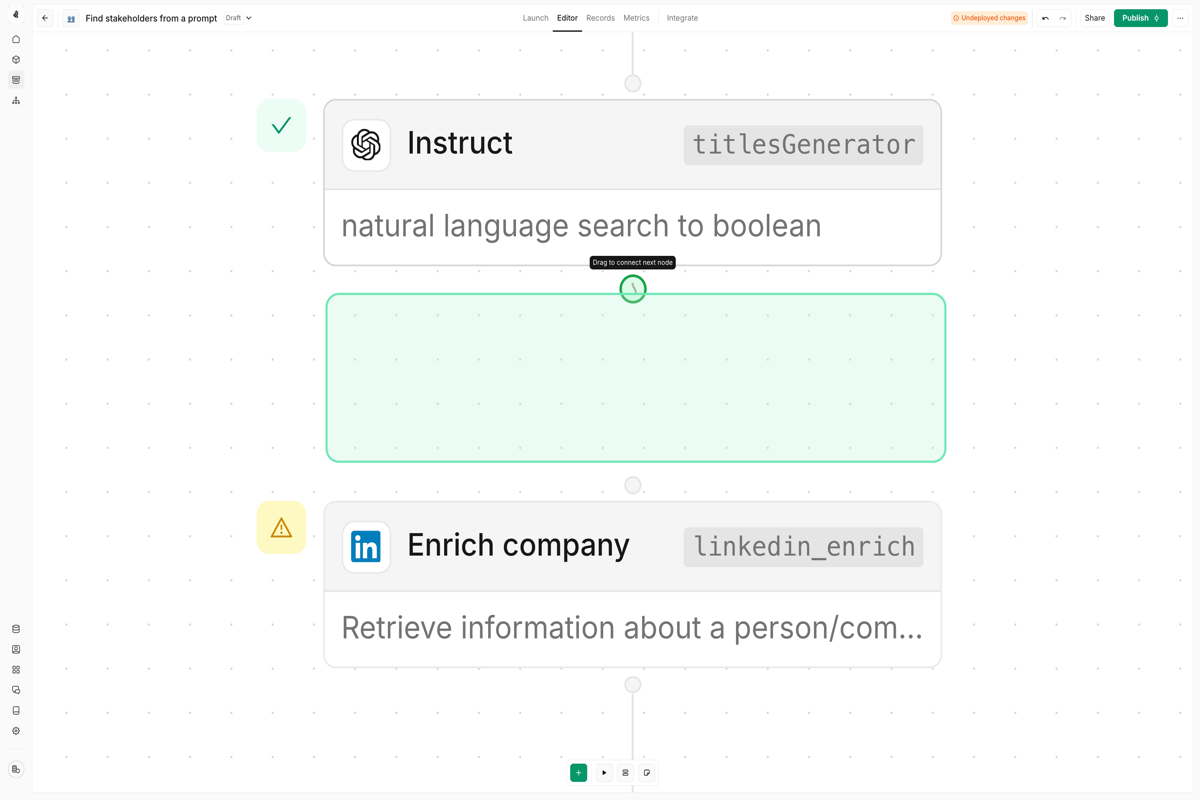
Deleting connections
To delete a connection, hover over the middle of the connecting line between two nodes and press the delete key.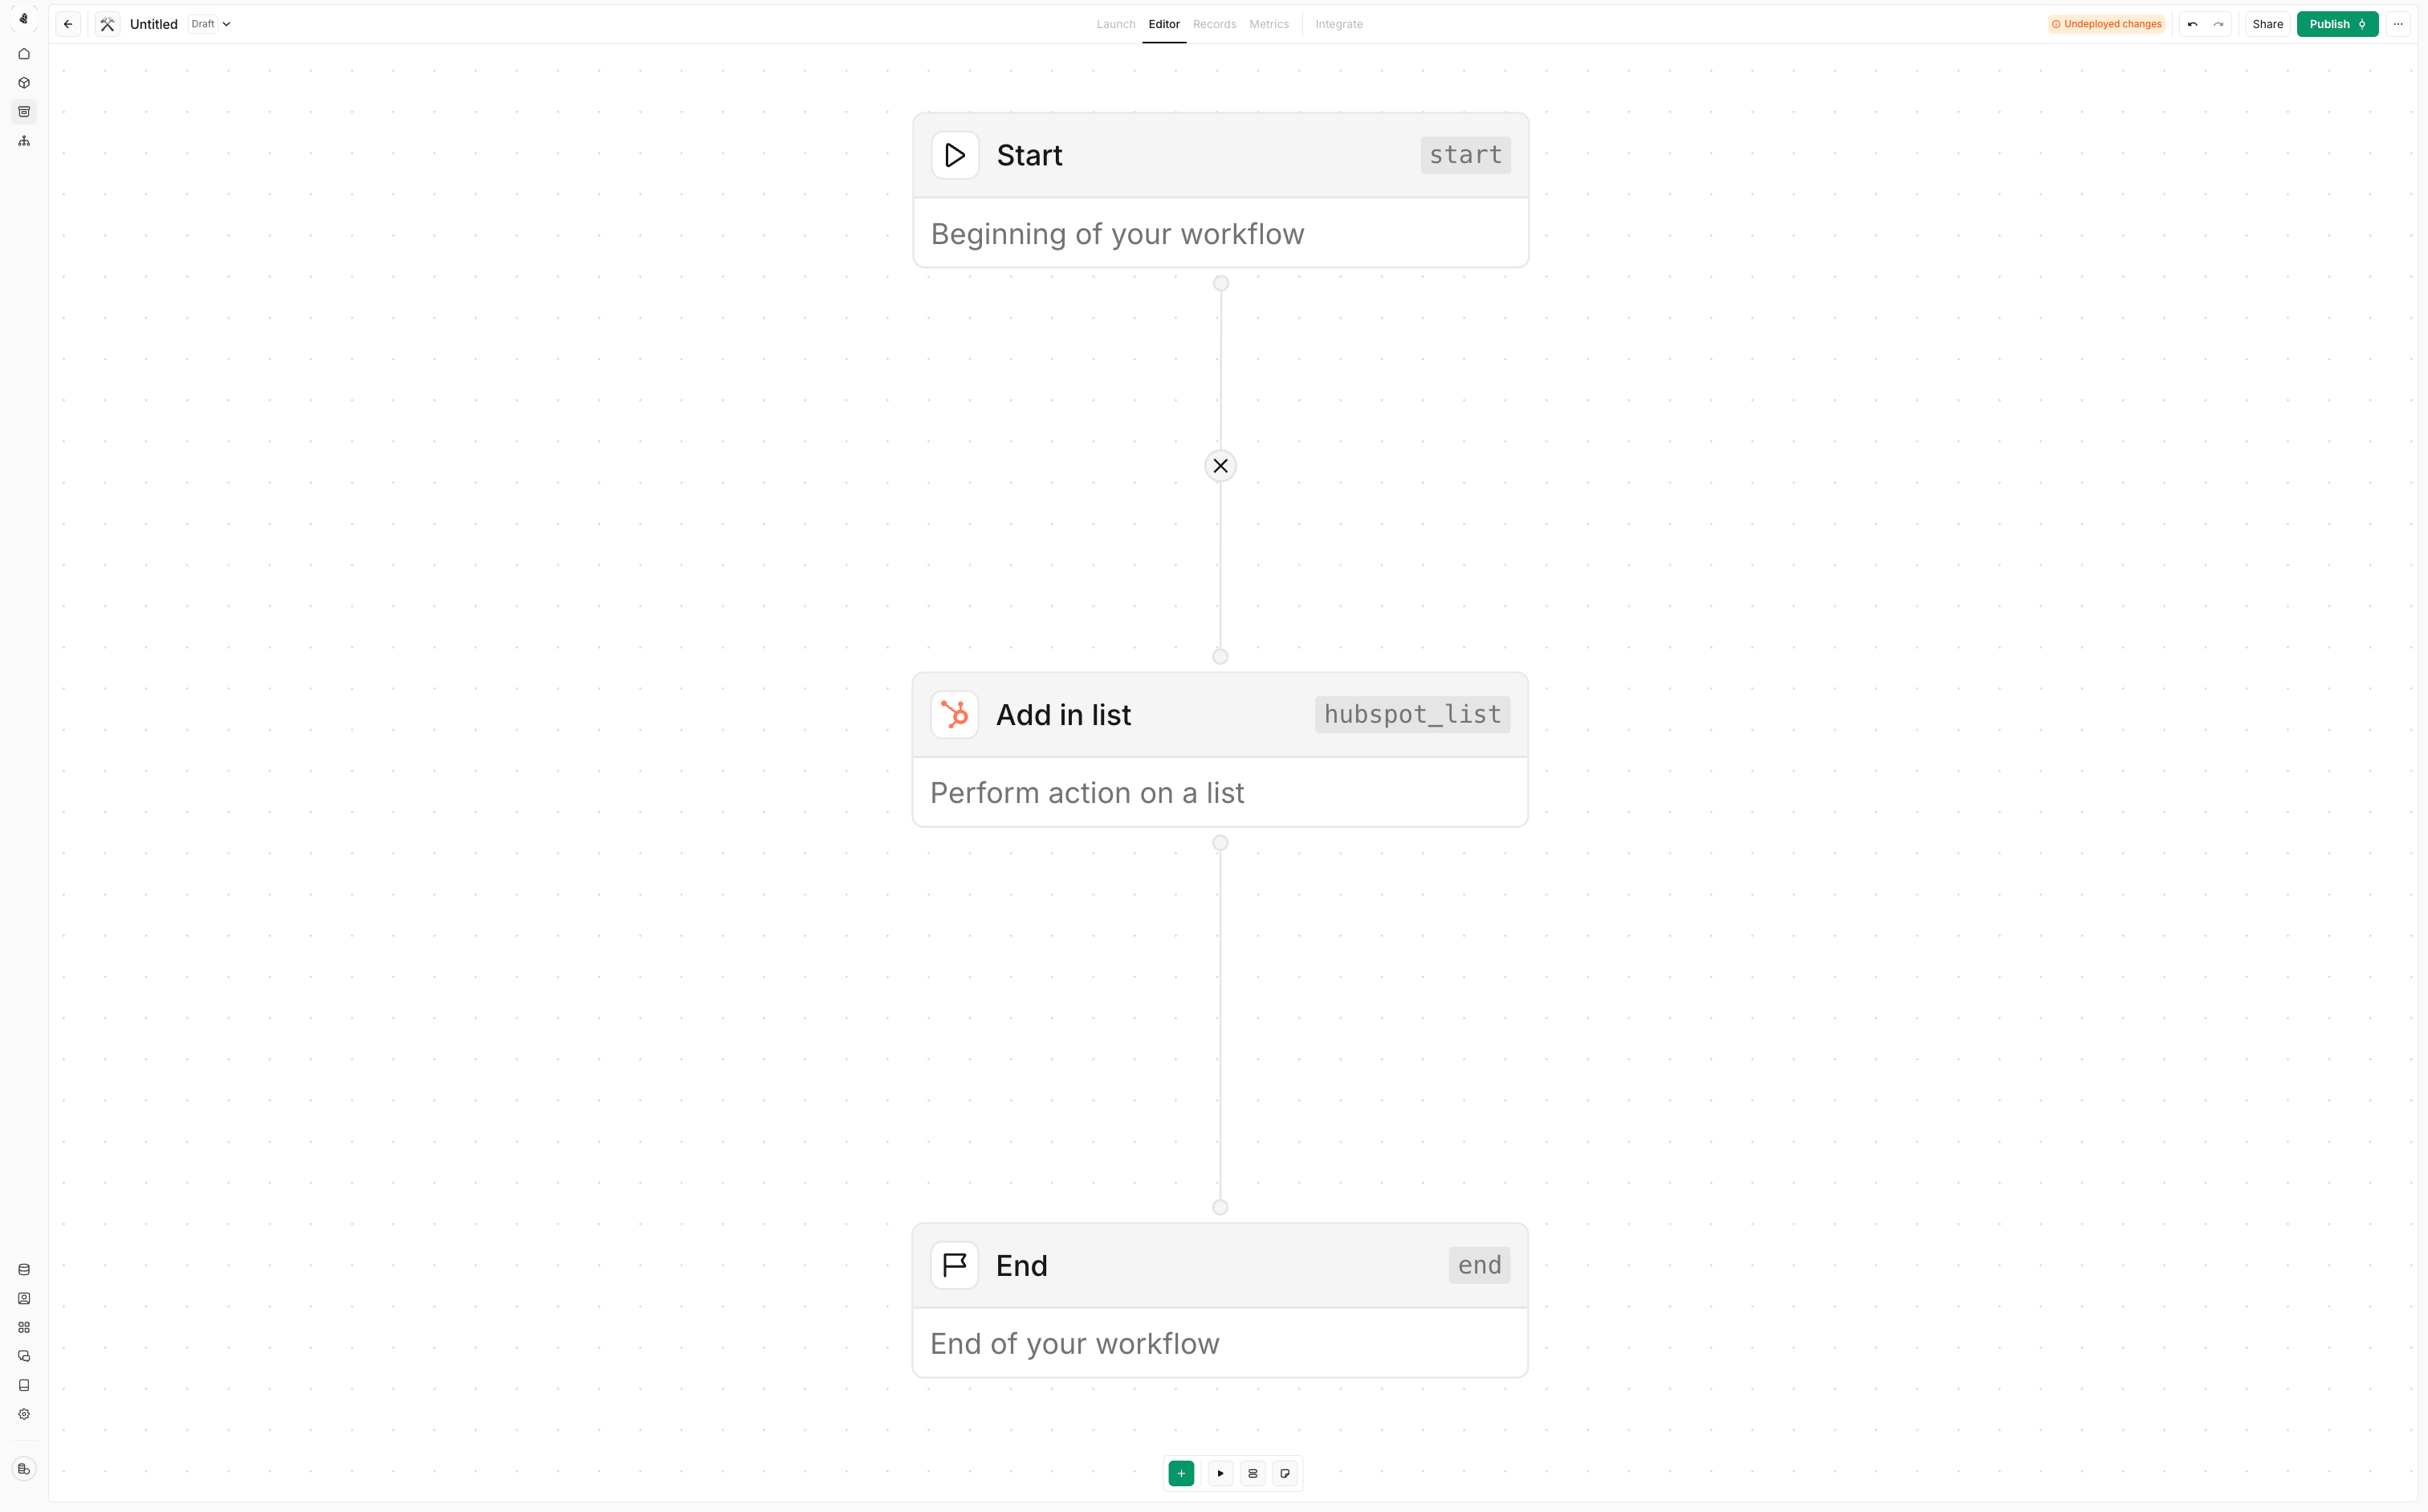
Connection rules
- A node’s output can connect to multiple downstream nodes (fan-out)
- A node can receive connections from multiple upstream nodes (fan-in)
- Circular connections (loops) are not allowed
- Branch and Switch nodes have multiple output ports for different conditions
Working with nodes
Adding nodes
Click the + button on the canvas or on a node’s output port to add a new node. Browse categories or search for specific actions.Configuring nodes
Click on any node to open its configuration panel. Each node type has different settings, but common options include:- Node name: Rename the node for clarity
- Input mappings: Connect data from previous nodes
- Action settings: Configure the specific behavior
- Error handling: Define what happens if the node fails
Organizing your canvas
- Drag nodes to reposition them on the canvas
- Zoom in/out using the scroll wheel or zoom controls
- Select multiple nodes by clicking and dragging a selection box
- Copy/paste nodes using keyboard shortcuts (Cmd/Ctrl + C, Cmd/Ctrl + V)
Testing tools
Before publishing, thoroughly test your tool:- Click Test in the toolbar
- Enter sample input values
- Click Run to execute the tool
- Inspect each node’s output in the execution view
- Check for errors and unexpected results
Save and publish
Draft mode
When you first create a tool, it is automatically saved as a draft. You can leave and return later to finish building the tool without losing your progress.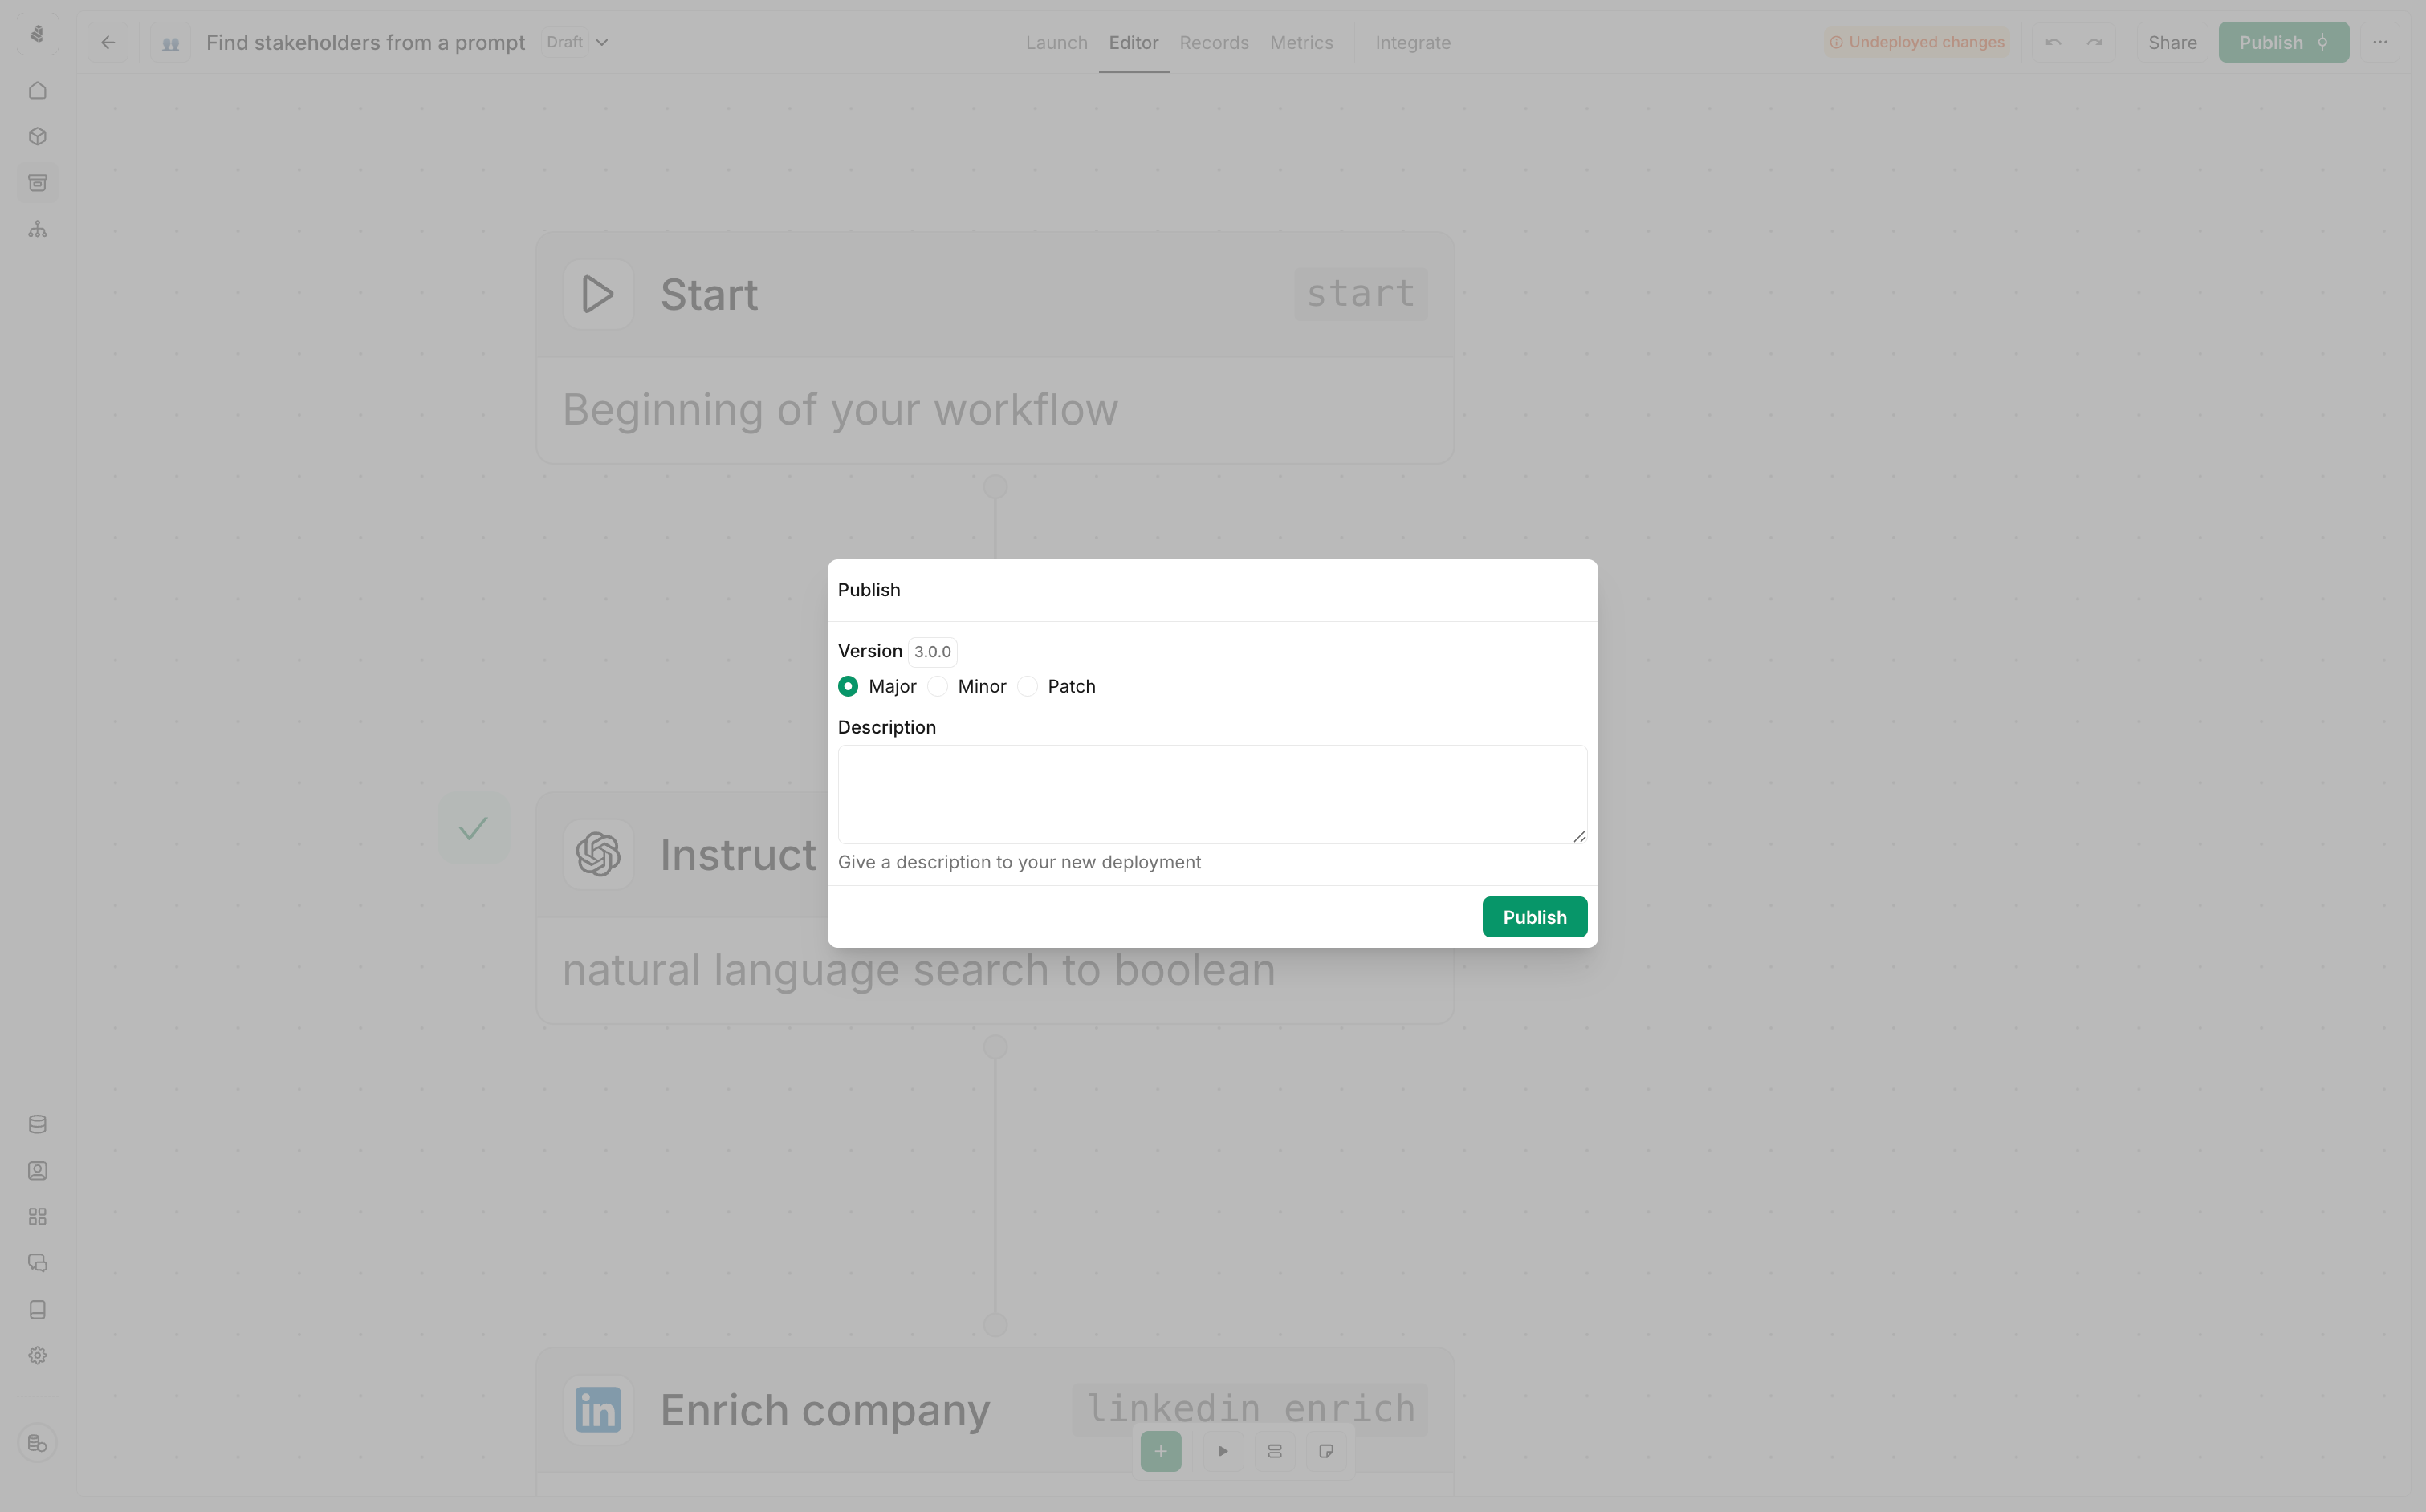
Publishing
Once you’re ready to start using the tool outside the editor, you can publish it. Published tools will be available for use in plays, agents and MCP servers. To publish a tool, click the Publish button in the top right corner of the tool editor.Versioning
After publishing a tool, you can still make changes to it. Any changes you make will be saved as a new draft. You can publish the new draft at any time by clicking the publish button again.Publishing creates a new version. Active plays and agents continue using the
version they were configured with until you explicitly update them.
Best practices
Name everything descriptively
Name everything descriptively
Rename nodes from defaults like “Branch 1” to something meaningful like
“Check if enterprise tier”. Your future self will thank you.
Handle errors explicitly
Handle errors explicitly
Don’t assume every node will succeed. Use Branch nodes to check for errors
and handle them gracefully—log failures, send notifications, or trigger
fallback logic.
Keep tools focused
Keep tools focused
Build tools that do one thing well rather than trying to handle every edge
case. You can always chain tools together in plays.
Document your inputs
Document your inputs
Add descriptions to every input field. When someone else (or future you)
uses this tool, they’ll know exactly what data to provide.
Test with edge cases
Test with edge cases
Don’t just test the happy path. What happens with missing data? Invalid
formats? API rate limits? Test these scenarios before publishing.